Author: Noah Vogt (19.04.2021)
Note: # in the beginning of a line means you need to run this command as root user. $ means a normal user should be able to execute the command
Note: /sdcard/ is usually the ‘home folder’ on your android phone. This is useful when you use adb commands that require to give a path on the android file system.
On Debian-based package managers just run
# apt install adbOn Arch-based distributions install the following package
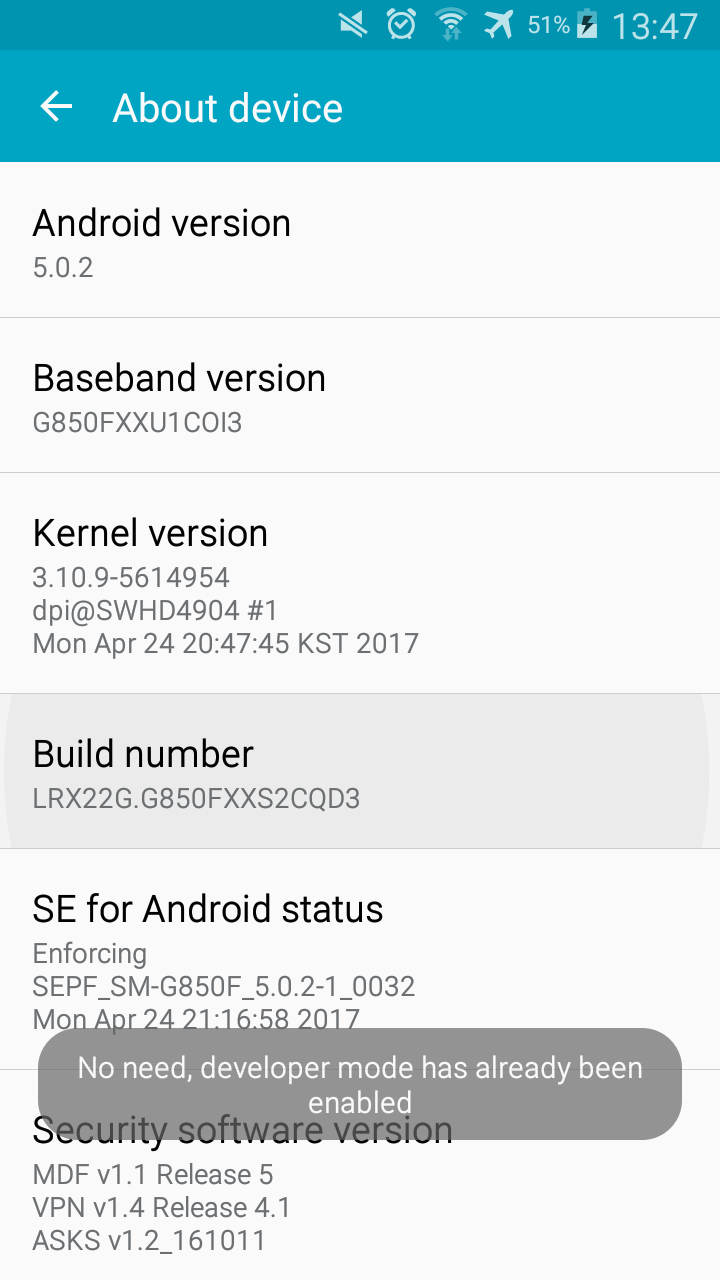
# pacman -S android-toolsGo to the setting app, and scroll down to a menu entry that is called similar to ‘About Device’. Now spam the ‘Build Number’ button. Now There should appear a Message showing that the developer options have been successfully activted. When you click again on the Build Number it should look something like this:

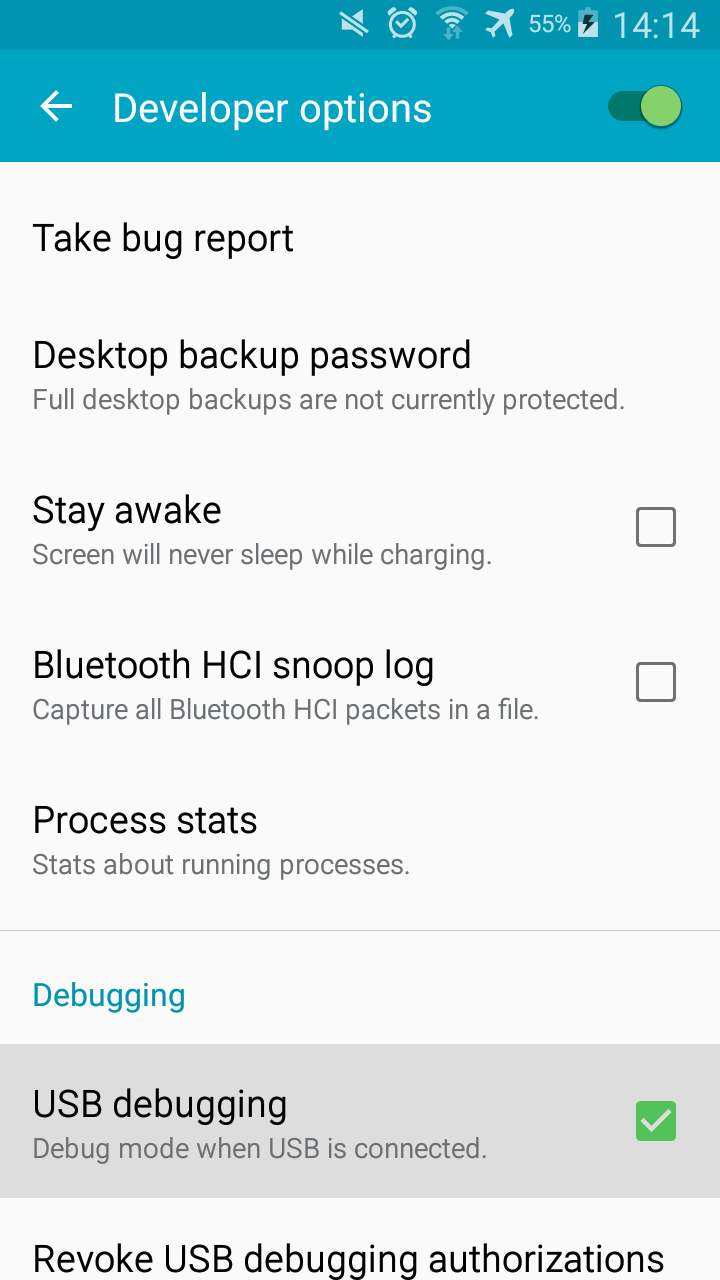
Now go back a settings menu and the Developer Options should now appear. If not, restart the settings app and navigate there.
Now click on ‘USB Debugging’ and validate your decision when a pop-up window comesup. The box should be checked like on this picture:

$ adb devices$ adb install APPNAME.apk.
-s SERIALNUMBER or -p PRODUCTNAME flags.Also note these handy addional flags for installing:
-r update / upgrade an already on the device installed package-s tries to install this app on the sdcard, as this is not supported for every phone$ adb uninstall APPNAME.apkThough the prefered way to transfer files to and from Android devices is using MTPFS (Media Transfer Protocol FileSystem), you could still do this using adb. For MTPFS, I would recommend using simple-mtfs. There is also an AUR package available.
Anyway, to copy a file from your phone to your pc use this command. Be careful to use the right android path.
$ adb pull ANDROIDPATH PATHTo send a file from your phone to pc use this.
$ adb push PATH ANDROIDPATHThis may be one of the few times you would choose adb’s file transfering tools. This command will create a full backup from your phone’s storage.
$ adb backup //With this you can restore a previously made backup.
$ adb restore //This basic command will list all packages.
$ adb shell pm list packagesHowever, you can use some useful additional flags on the end of the above listed commands.
-s list system packages-3 list third-party packages-d list disabled packages-e list enabled packages-u list uninstalled packages$ adb shell pm uninstall -k –user 0 PACKAGEWhen running adb shell you enter a basic shell. Some basic UNIX commands will work, but it’s not that interesting.
To store your screenshot on the phone use this command
$ adb shell screencap -p ANDROIDPATH[.png]and for storing the screenshot directly on your PC use
$ adb exec-out screencap -p > PATH.png$ adb shell screenrecord ANDROIDPATH[.mp4]You can even specify extra option like --size 1920x1080 (to set the recording resolution), --bit-rate 4000000 (set the bitrate to 4 Mbit/s) or --time-limit 120. The latest options is very neet, as the default recording duration is 180 seconds ( 3 minutes).
To stop recording, just press Ctrl + C if you don’t want to wait for the time limit.